
Most Recent
Intro Clear Creek Canyon in Golden is about 40 minutes from Boulder. As a sibling to Boulder Canyon, the rock climbing here is less established but offers a bit more variety in terms of rock — gneiss, schist and sandy granite are all present, most of it relatively solid. Because the canyon is about 12 […]
A loud bugling throws my eyes open. I’m curled up in the back of my car, zipped tight into my sleeping bag. The windows have frosted over a little bit in the cold. The night before, I’d sped south from Yellowstone in search of some place to sleep before heading to Grand Teton National Park […]
Just minutes up the hill from Boulder, and a mere hour-plus drive from downtown Denver, lies the lesser-known ski “resort” of Eldora. Famed for its less expensive lift tickets and “Just Say No to I-70” slogan—which encourages people to avoid the crowds and traffic at bigger, more popular resorts along the I-70 corridor—locals have long loved this […]
It’s no secret that Boulder boasts a wealth of top-notch hiking. The foothills and mountains above town represent the eastern terminus of the Rocky Mountains, rising up to elevations more than 8,000 feet—meaning a great workout is almost guaranteed if you’re starting from Boulder, which is roughly 5,400 feet above sea level. Meanwhile, the mesas […]
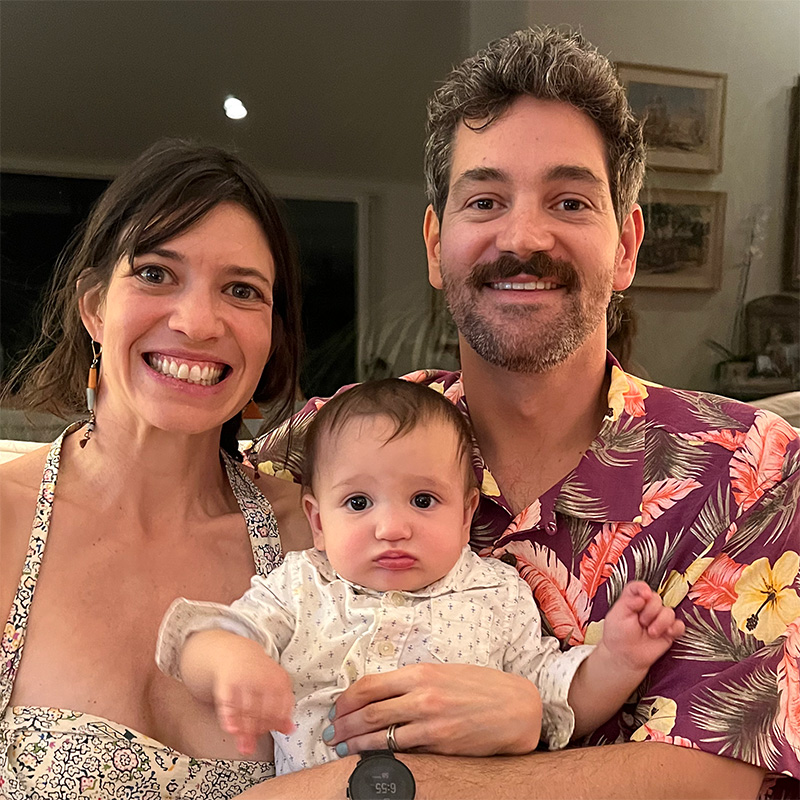
Asa Firestone was born with an entrepreneurial spirit and has cultivated hospitality expertise in the picturesque landscapes of Lyons and Boulder, Colorado. As the co-owner of the A Lodge, his journey epitomizes dedication, innovation, and a deep-rooted commitment to community.
Asa’s journey began with a profound appreciation for travel and exploration. His early experiences staying in lodges around the world ignited a passion for creating memorable experiences for others. Armed with this passion and a keen business acumen, he embarked on a mission to redefine hospitality in his own backyard.
In 2008, Asa’s vision came to fruition with the establishment of the A Lodge in Boulder, Colorado. Nestled amidst the majestic Rocky Mountains, this Boulder hotel quickly garnered acclaim for its blend of rustic charm and modern comfort. Under Asa’s guidance, the A Lodge became more than just a place to stay; it became a destination where guests could immerse themselves in the unparalleled beauty of Colorado while experiencing genuine hospitality.
However, Asa’s ambitions didn’t stop there. Recognizing the growing demand for unique accommodations in Boulder, he expanded his footprint by acquiring and revitalizing a second property in the heart of Lyons. This expansion not only solidified Asa’s reputation as a visionary entrepreneur but also furthered his mission of providing exceptional hospitality experiences to a broader audience.
Beyond his role as a hospitality magnate, Asa Firestone is deeply invested in the communities he serves. Whether through supporting local initiatives, fostering sustainable practices, or championing the arts, he remains dedicated to making a positive impact at both the local and global levels.
Asa’s leadership exemplifies a harmonious blend of passion, innovation, and compassion. His unwavering commitment to excellence continues to set the standard for hospitality in Lyons, Boulder, and beyond. As guests continue to flock to the A Lodge, they are not only welcomed into a warm and inviting space but also into the visionary world of Asa Firestone.